How to Start Using Zoom
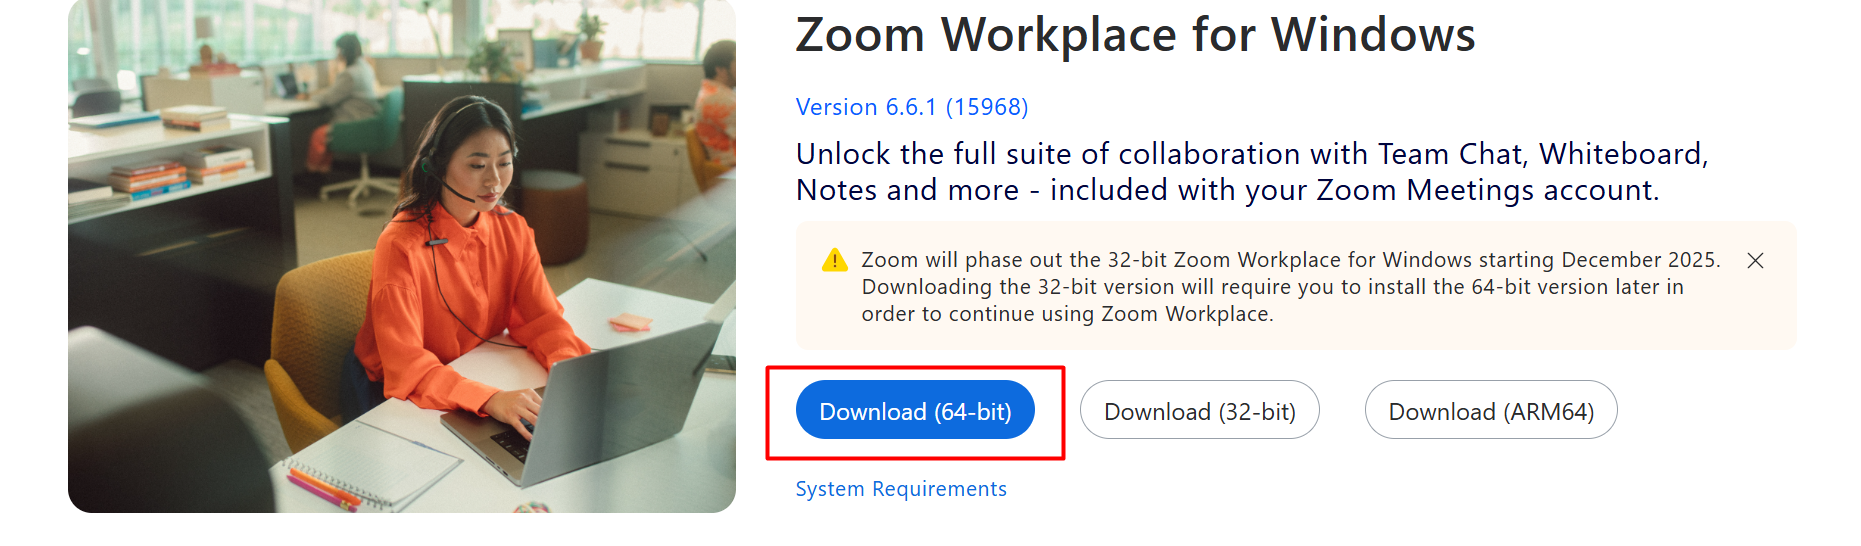
Download the Zoom client from the official website and install it on your PC.
Sign in with Google
Signing in with Google is much more convenient, as it only takes a few clicks and doesn’t require you to fill in additional information.
If you don’t have a Google account yet, please create one.
You can choose another sign-in method, but we strongly recommend using Google as it significantly reduces the time needed to start a lesson.
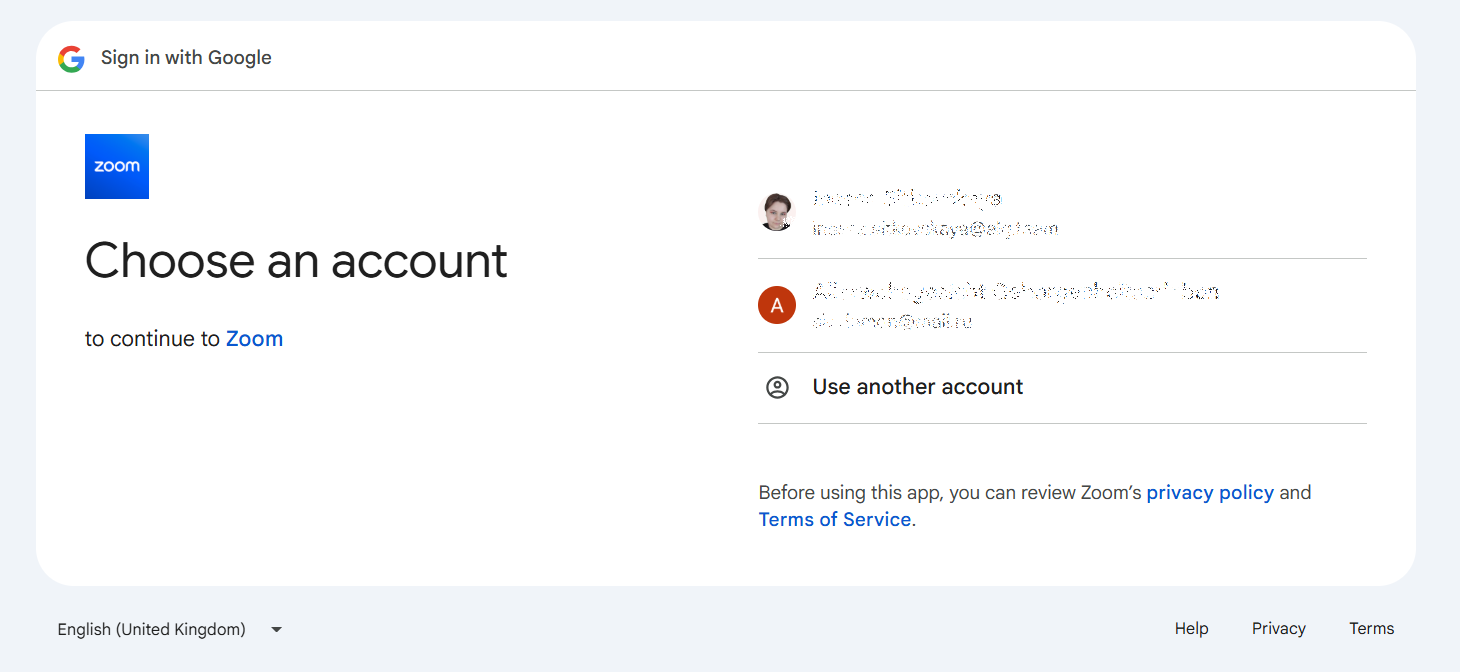
Choose to sign in using the Google option.

In the pop-up window, select any Google account you plan to use for Zoom.
Write a caption...
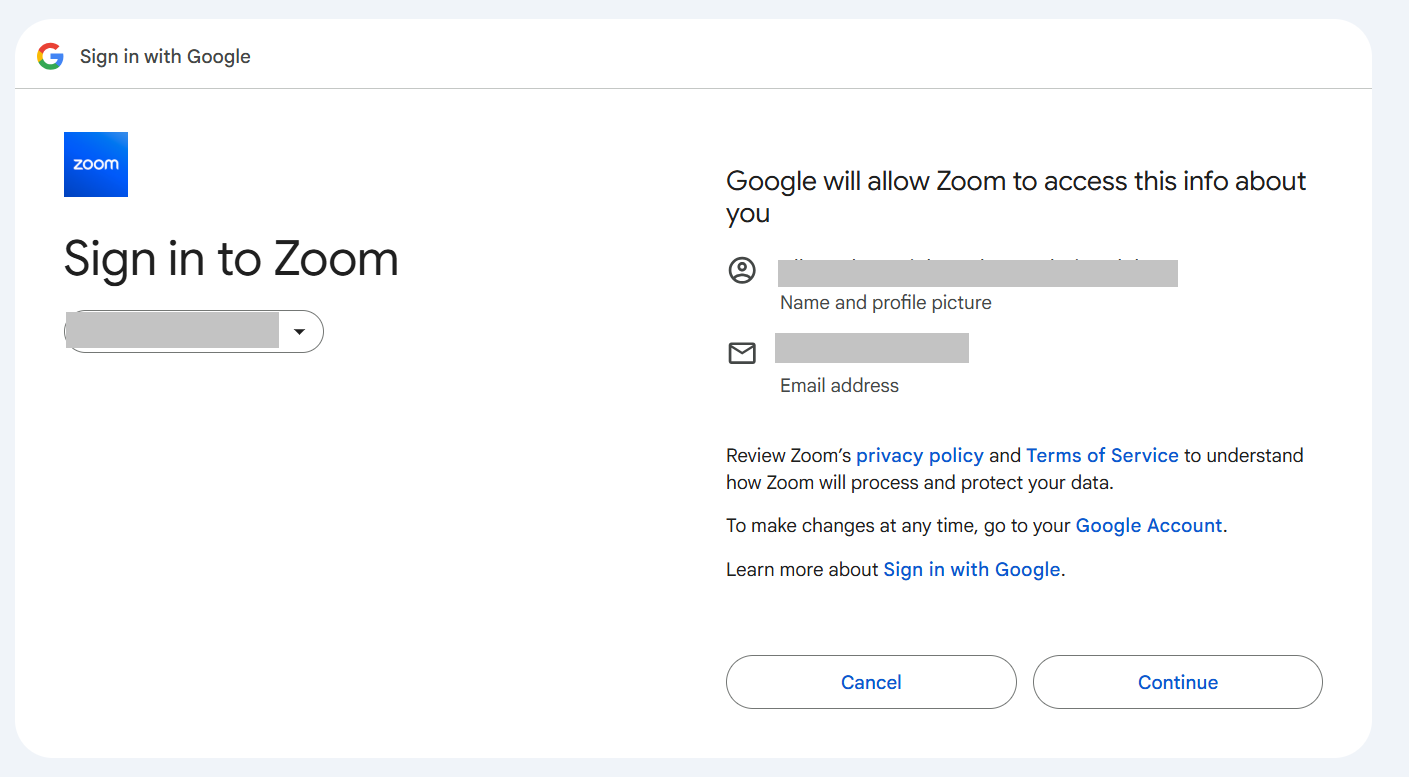
On the next step, when Zoom asks for your name and email address, click Continue.
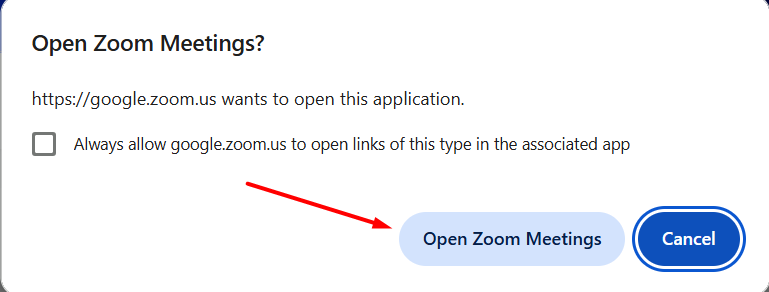
Zoom will then prompt you to open the application.

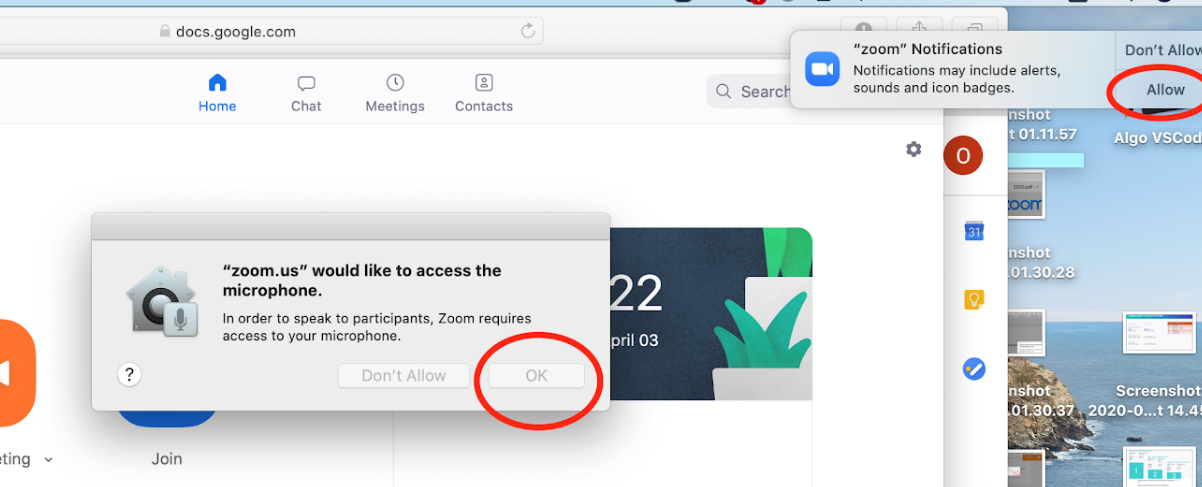
FOR macOS ONLY: After logging in, Zoom will request access to your microphone, camera, and notifications. Grant all requested permissions.
Done! You will be automatically logged in with the account you selected.
How to Join a Zoom Meeting for Your Group
If the teacher provided you with a direct link to the Zoom meeting, simply click on it — the system will automatically prompt you to open the Zoom app.
If the teacher mentioned that Zoom is set up as a backup room, you can join the class as usual by clicking the "Online Platform" button on the student platform.
After clicking it, the system will offer to open the Zoom app.
How to Use Zoom
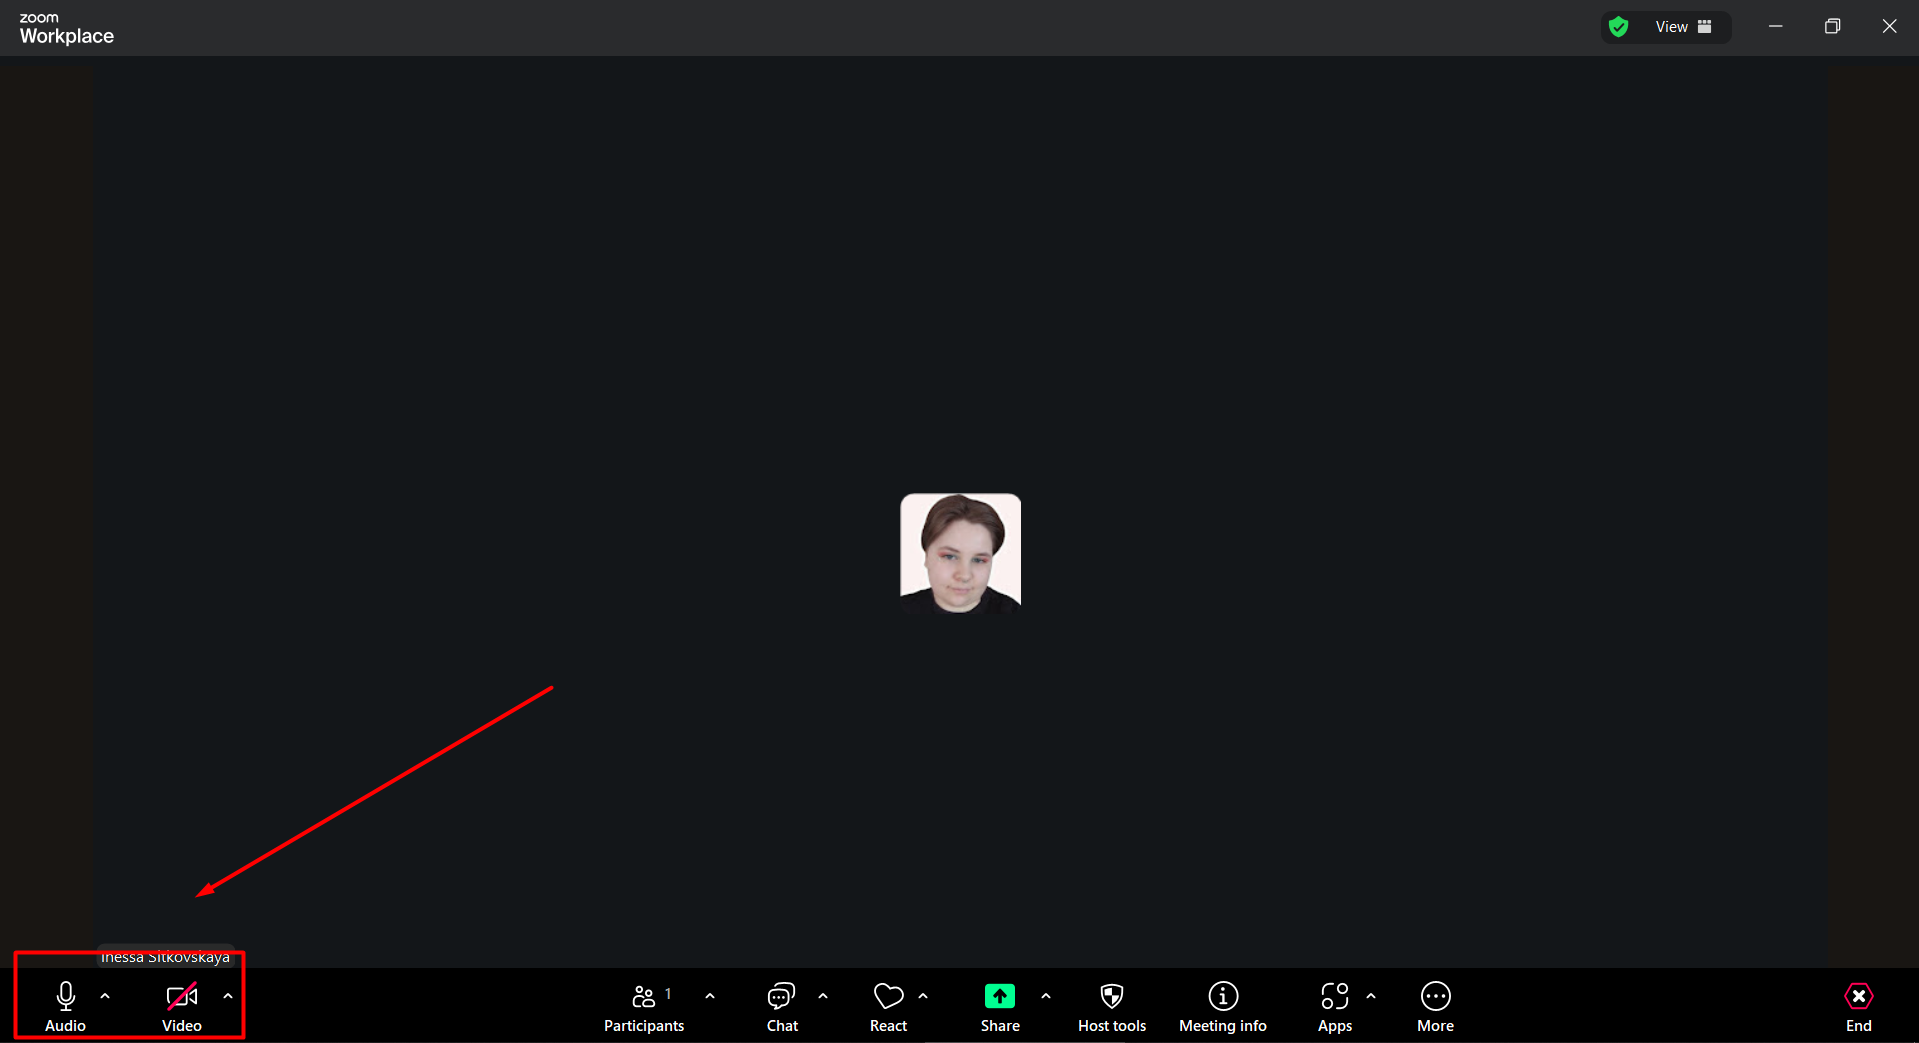
At the bottom of the Zoom window, you’ll see several icons:
In the bottom-left corner, you’ll find the buttons to mute/unmute your microphone and turn your camera on/off.
The Share Screen button allows you to start screen sharing.

When you click it, you’ll need to choose what you want to share:
your entire screen
a browser tab
or a specific application window

To stop sharing your screen, click the "Stop Share" button at the top of the screen.

By clicking the Chat button, you can open the chat panel on the right side of the Zoom window.
